pull up a chair ... this is going to be a long one ... i had started out to write a general discussion of expanding tables since we've had a run of them lately. but, once i looked through the pictures for the table we (mostly) finished last friday afternoon, i decided to write just about that one. we have still got a little fine tuning to do and i may do a few more formal photos if i have the time ... we'll see. i have a lot of pictures of this one already, but it was a really interesting project ... click on the photos to enlarge them ... here we go ..

one of the leaves and the center pedestal leg ...

my client started by combining two of our more interesting and challenging table designs. for the top, he chose the
center and edge inlay patterns from this table we made in about 2001 or 2002.

and then he changed the pedestal to this one from our
walnut and gilded tooled leather poker table ... here's the cad drawing of the combined design

ahhh ... where did we start? ... with the column i guess

octagonal glue up with 'eased' corners, precut on the table saw before gluing to eliminate the 'points of the octagon so it will just swing over the bed of the lathe ...

i had to demo this technique as will had never turned with the floor mounted tool rest ... i'm a little rusty, but still willing and mostly able ...

while will and i were turning the center column, trevor cut three pieces of 3/4 ply, stacked them up and veneered the edges....

then he made and glued up the top and bottom veneers and popped them into the veneer bag ...

the buttresses are three glued up 3/4 pieces of cherry stacked and fitted to the round column .. by this time, we had already cut the column in half using a variation of
our cylinder cutting jig from this post ... 
we added some glued up tops to the half columns and six saucer feet to the bottom and at the point below, it was ready for the runners and the top ... note the grooves ... more on them later.

the wood for the top was a spectacular matched set of curly cherry boards from
irion lumber
trevor cut the 31 x 62" halves on the cnc, and at the same time routed the pockets for the center inlays. he made the borders in a block and sawed them up into 1/10th" thick strips for the center inlay border.

those are installed with brads and tape all around the central recesses

and on the leaves too ...

by this time, will had started the blocks for the edge inlay ... we needed about 25 lineal feet of it total ..

it's a fussy one ... you don't get to level up the center block except for a little hand sanding so every piece has got to be dead on for thickness before you glue up the cores of the blocks ...

not quite good enough ...

here's a stack of completed 'cores' awaiting the addition of the .1" thick walnut borders. you get 5 or 6 slices per inch of block ...

once they're applied, the edge is routed and the .07" thick slices of the blocks are installed into the routed grooves with masking tape and flushed up with the table edge when the glue is dry the next day ..

and then it was back to the center inlay. we started with the block of big leaf male burl i bought on my last trip to
berkshire products ... they had a
ton of maple burl there.

trevor first cut thick, slightly oversize triangles and then sliced them into .1" veneers which he could then bookmatch as he fitted them up ... not counting the edge strips there are 40 triangles of burl in the two halves of the top and the 3 leaves ..

looks hard ... is. kind of, and time consuming

here's the pattern

the curved aprons were glued up a half at a time with big jorgensen band clamps around an mdf 'form' that trevor cut from an old spoilboard from the cnc.

then we milkpainted the aprons and saucer feet, black over barn red, sponged and steel wooled and paper toweled them and put the whole thing back together ...
any questions?
actually, there is another subtle complication that almost stumped us but we finally got it and i
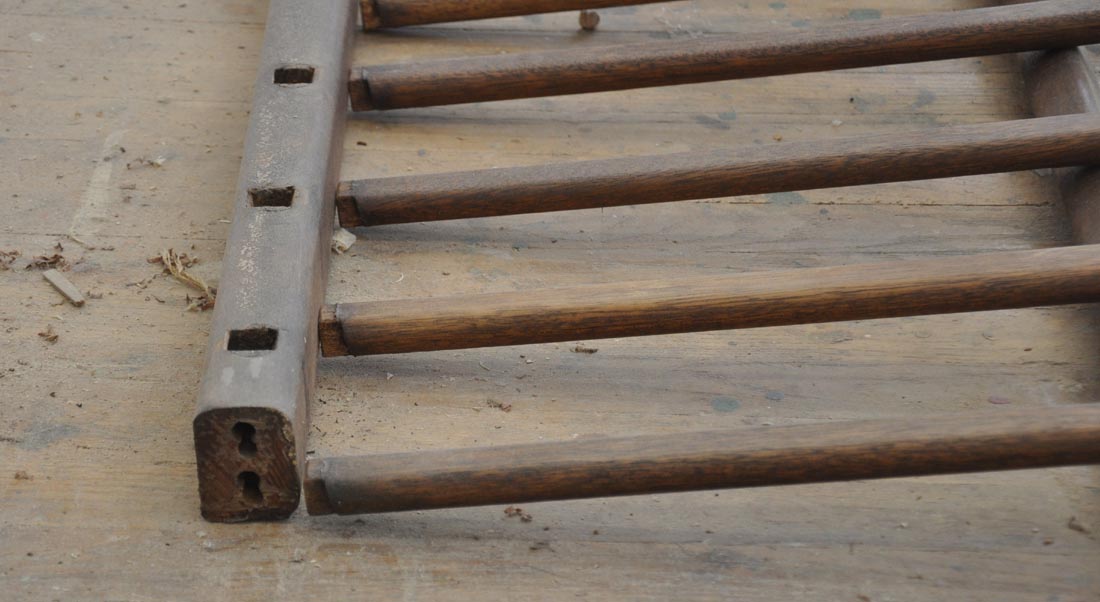
have to detail that in a separate post later so i don't forget how we did it .. ... like i said, it almost stumped us. it has to do with making the runners open the table base with the little aluminum strips we added to these stock
moin runners and the slots in the top of the base that you see in one of the photos above ....

but really, that's enough for now ... 45 minutes of blog writing is my mucho max ...
 i wrote a pretty long blog post about this table a couple of weeks ago, but i never detailed how the runners worked. we had to do a little creative engineering to get the pedestal to open at the right moment, but, in the end, it all worked slick.
 there is a you tube video showing the opening and closing the table at this link here
 here's how it worked ... click the photos to enlarge them ... above, you can see the channels we routed in the top of the column base. the purpose of those was to stop the first set of runners that the table top halves are attached to after they open far enough to insert only the first leaf. with more than one leaf, we wanted the base to open so the center leg could support the four foot span required for all three leaves.
 we added little aluminum pieces to the bottom of the runners and those stop the first two runners after about 9" of travel. you can hear the stops engage in the video. the second runners were screwed to the base top itself and engage to open the pedestal once everyhting seen below is unlocked.
 there is a central locking device which sam fabricated in the metal shop to secure the base of the pedestal when it's closed ...
 this shows the two halves opened to the 'one leaf' position
 as usual, we burned through some mdf mockups figuring the whole thing out but, as usual, it was worth it ... great client .. great project ...