Showing posts with label railings. Show all posts

Friday, January 28, 2011

Sam's Railing's Done

All in, all done ... Sam and Jim wrapped it up today with a little more on site bolting and welding .... I'd like to see it in person before the folks move in though Sam's pictures came out well considering what a sunny house it is ... I think he's happy it all fit and it's all done, and the biuilder came by with the check this afternoon ... My kind of client .... Onward ... click the photos to enlarge them ...
Up the steps ...
Top of the steps ...
Ditto ...
Down the steps
Sam's secret, super special, leopard skin finish ... very cool
Next !

Friday, November 12, 2010

Sam's Balcony

A couple of weeks ago, Sam installed the balcony he was working on back in September and October ... It was a very cool project with some somewhat daunting challenges. Build it here ... install it there, 15' in the air ... Make it safe ... That kind of stuff. I swung by last week and took some pictures ... Looks like it was made to be there .. Click the photos to enlarge them ..
The platform with it's expanded steel floor and outline of the rails
Sam had made a couple of sketches but mainly, on this one, worked as the spirit and his vision moved him ..
Until he had had basic decorative design figured out ...
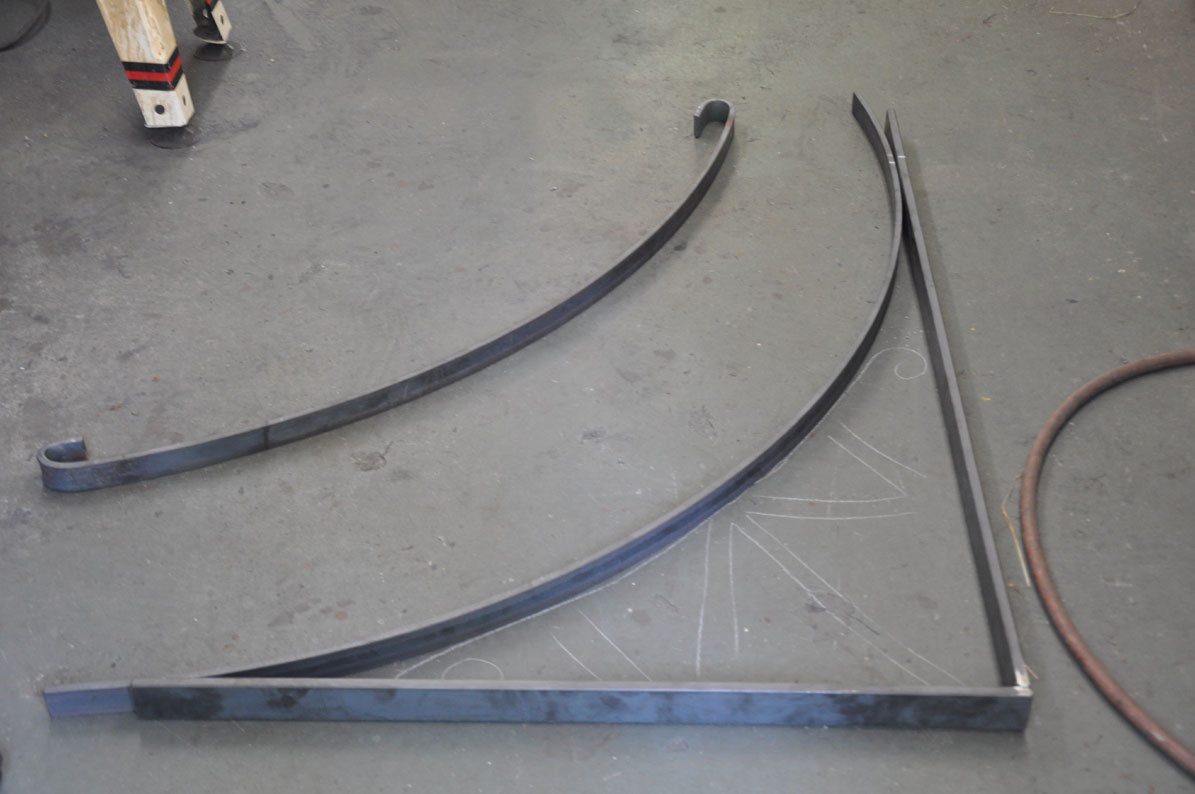
Next were the support brackets with some ideas sketched in ...
Back to the circular elements of the main railingand then a test assembly on the wall of the shop ...
All welded up and ready to prime and paint
One of the fishies on the 'floor' of the balcony ...
From afar
From below
From the end, showing the 4 supporting brackets

Thursday, April 15, 2010

A New Railing Project

I'm cleaning up my back list of unfinished blog posts tonight. Here's another one I started back in March and never quite completed ... It's about a railing Sam made for a house in Peru. I never saw the house, but he said it was a very tasteful 'modern' house with nice architecture. The stair rise and runs were all a little different, and, because of the design, the execution required some extra care to be sure things were centered and spaced correctly before welding welding commenced. It was a big one and it came out well, but I know he was glad when it was over .... On to something a little looser like the doors below ... Click the photos to enlarge them ...
Rough layout to check angles, rise and run
Assembly jig by Sam and Trevor on the CNC
Various modifications were required as each of the three flights of stairs were different ..
A welded and ground corner ... The railing was finished with a clear coat of penetrol.
The builder finished it off with a wood top cap .... Looks great !

Friday, February 19, 2010

What We Can Do With Metal

Sam's been working with metal now for about 5 years, full time for the last two. He's a great welder and fabricator and his artistic and problem solving sense is evolving everyday. As we get more and more requests for pieces both entirely of metal and as furniture, in combination with wood, often questions of finishes, materials, and capabilities arise ... Rather than answer the same or almost the same questions over and over, this post will serve as a general outline for potential clients who want to know more about what we can and can't do ... Click the photos to enlarge them ....

We have a fairly well equipped metal shop. We could use a little more space, a milling machine and maybe a more professional drill press but mostly, we're pretty well set. We also have a company we work with for custom CNC waterjet cutting and custom CNC plasma cutting, as well as chrome plating and powder coating ... Right here in Vermont ....

Sooooo, what are the options as far as materials, finishes, fabrication? For a quick overview, visit the 'Sam Mosheim' category off to the right there or any of the links directly below....

Also, here's a link to an online slide show.

Possible finishes are:
Natural oiled mill finish .... 'The Williams Store Railings'Blackened steel, done with a cold patina chemical called 'ready brown' ... works great on brass and copper too .... It can be nicely highlighted with steel wool, then oiled ....
Polished natural steel finish. Essentially a process of grinding off the mill scale and polishing with finer and finer grades of abrasives ... While we have not as yet done any pieces in polished stainless, our satin finish stainless is typically looking a lot like the project above .... Perhaps just a bit brighter .... 'A Custom Contemporary Railing'
For antique or Art Deco style pieces, golf leafed, natural or antiqued, might be a good choice ...
For outdoors, we recommend two coats of primer, two of paint with refreshing when necessary ... any color ... 'A Fine Outdoor Railing'
For indoors, primed and painted, any color also; here with a nice gold paint from Fine Paints of Europe which will be glazed and antiqued later ...
A mix of finishes and materials .. blackened, natural,polished, brass and copper ... We're currently working on designs for a bed with inlays in a variety of metals and finishes ...
'A Door For a Pizza Oven Thermometer'

Products and Services .....
Custom Outdoor Chairs and Table Parts

Lighting, railings, sculpture, belt buckles, custom tools, fireplace accessories, furniture parts, metal repairs and custom welding ....

Whatever else you can dream up that you think we might be able to do ....
dan@dorsetcustomfurniture.com
sam@dorsetcustomfurniture.com

Thursday, December 3, 2009

Sam's Railing is Installed !

Sam finished up his railing Wednesday .... He and Jim spent an hour and a half on site bolting the posts to the shoes ... It took longer to drive there than to install the whole thing ... Good measureing and careful planning get the job done ....

Approaching the terrace .. Click the pictures to enlarge them

Now you know why they needed a railing

This has been kind of a big railing project. It's out of town, (New Hampshire), it's a long one. (40' or so) and it's complicated. The builders placed tubes in the ground where they wanted the posts and backfilled around them, planning to pour the posts in place also, I believe. It turned out to be more complicated than that. Sam worked through it, and even though it made for some extra work on his part, he went the extra mile to get it right. There's a gate on the left end where the steps are ....
To start, we decided to make a portable form and construct the posts with detachable 'shoes'. Each shoe with a piece of 3/4" rebar welded to the bottom of it. The form was designed to hold the posts level straight and square while the concrete was poured and setting up. He had to go back after the concrete set up in the tubes, snap his level top lines and measure from inside of post to inside of post on each section. With the jogs and level changes, it involved a little fancy engineering, but when he makes the two hour tip this week with the finished railing parts, we're both confidant that it will bolt right into place. I have not been to the site, but it's on the Connecticutt River and appears to be a striking spot .... Click the pictures to enlarge them.

Setting up the jig for a test run outside the metal shop in the backyard

The posts with the 'hangers' welded on

The 2" tubing with caps welded on and ground smooth...

Some of the spindles and frame parts

A close up of the connections

Ready to paint

Friday, June 5, 2009

New Handrail


Well, we've got a new handrail out front ... Sam had a request from a client for railings like this and we weren't sure on the technique of sweeping horizontal bends so I decided a prototype would be a good addition to our entryway. We also had a friend come by with her 92 year old mother and her exit from the front porch with no handrail was sort of terrifying ... Anyway, it's up there ... looks good ... interesting process ... Click the photos to enlarge them ...

It's got a certain 'welcoming' feeling ...

First cut every couple of inches until what you're bending is essentially a piece of square stock ... Fill in the resulting spaces with weld, grind and smooth. Repeat for the second layer...

make the upsweep, figure out the length of the support

Make a jig to weld it to the horizontals and whip up some brackets ... prime, paint, drill a hole and install it using some epoxy stuff from the lumber yard ... I'll post the name of it here later but it was pretty slick stuff. Hardened up just like the stone and is the same color too ...