
A client sent me some links recently to tables that she had seen online that she kind of liked but not exactly ... The size she was looking for (60 x 86) was not a standard one for most manufacturers so, I made a drawing for her. Working with ovals to define the curves, I played around with the proportions until I arrived at something that had some promise .. I got her ok for the concept and gave the drawing to Trevor, who cnc'd up a quick 1/6th scale model to look at. After a little more back and forth, we came to an agreement and we were off. Click the photos to enlarge them ...

The 1/6th model is on top of the bottom of the English elm table we finally finished this week ...

Without the top showing the interior 'flower' kind of concept ...

We started with 4 really nice wide boards of walnut from
Irion Lumber ...

and after the top was glued up started in on the 16/4 pieces for the base. From the model drawing, Trevor made full sized patterns to help layout the cuts

After mitering them on the tablesaw, we added 3/4 inch hardwood dowels that passed through the center of each section to allow us to later run timberlock bolts up through the x cross base and into the four sections.

Before gluing up we also added some long grain walnut to reinforce the short grain out near the ends of the arcs.

We tried a bunch of different approaches to clamping ...

and then hit on the idea of a cut out piece of plywood 'collar', clamps on the bottom, and cross clamps on the top, which allowed us to view the place where the four miters came together ... It all seemed good until we added the actual glue which for a minute turned the whole process into a small wrestling/clamp juggling match which we eventually won ...

Before adding the crossed base elements, Trevor routed and glued and screwed in a half inch baltic birch play reinforcing spider that gave us all confidence in the integrity of the glue up ...

A little more sanding and it will be off to the finish room next week ...

We're liking it and have already discussed a couple of variations on the theme ...
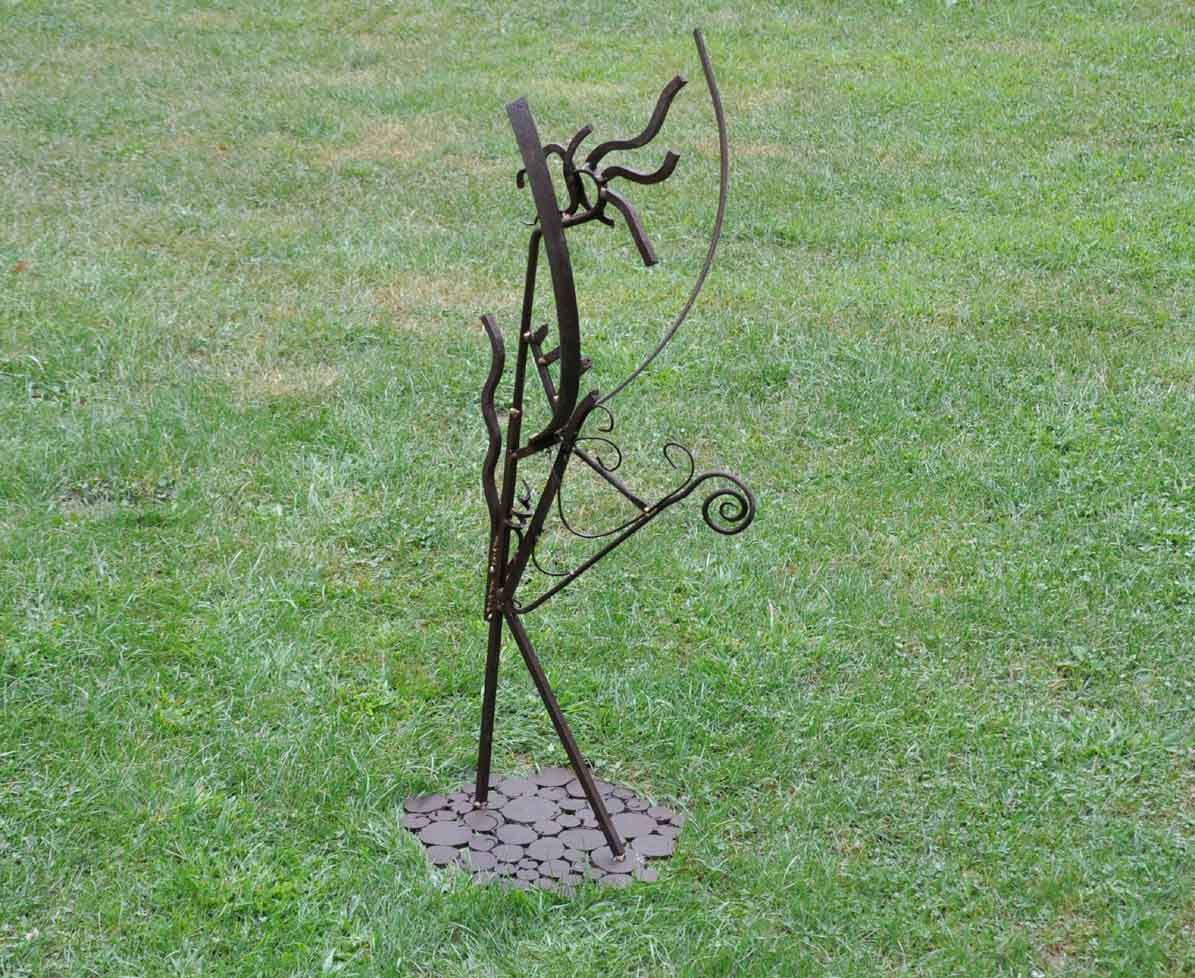 We are currently having a visitation from a sculpture that Sam gave to his friend Jennifer a few years ago ... She is waiting to move into a new house and is storing it here for the moment .. Kit and I want one ... It has a real nice David Smith like presence. We have an 'official' (read valuable) nude woman sculpture at the top of the garden that we are 'guarding' for a neighbor who is currently living in Boulder, but imho, Sam's can easily holds its own with that one.
 Back view ... it's about 4' tall ..
 Side
Side In the garden ... if you enlarge this one, you can see the neighbor's sculpture center right ...
 The island
 Process ...
 Parts ...
 The balcony mentioned above, in a test install on the front of the shop ... gotta love that rough sawn siding ... you'll never know it was there when it's gone
 Future home ...
 Starting out, Sam explored a couple of options for the support brackets ...
 the finished brackets bolted to the upside down platform ...
 hanging it all on the front of the shop ...
  getting started
 Starting the detailing ...
 He should be finished construction this coming week and then it will be off to the paint shop ..


